
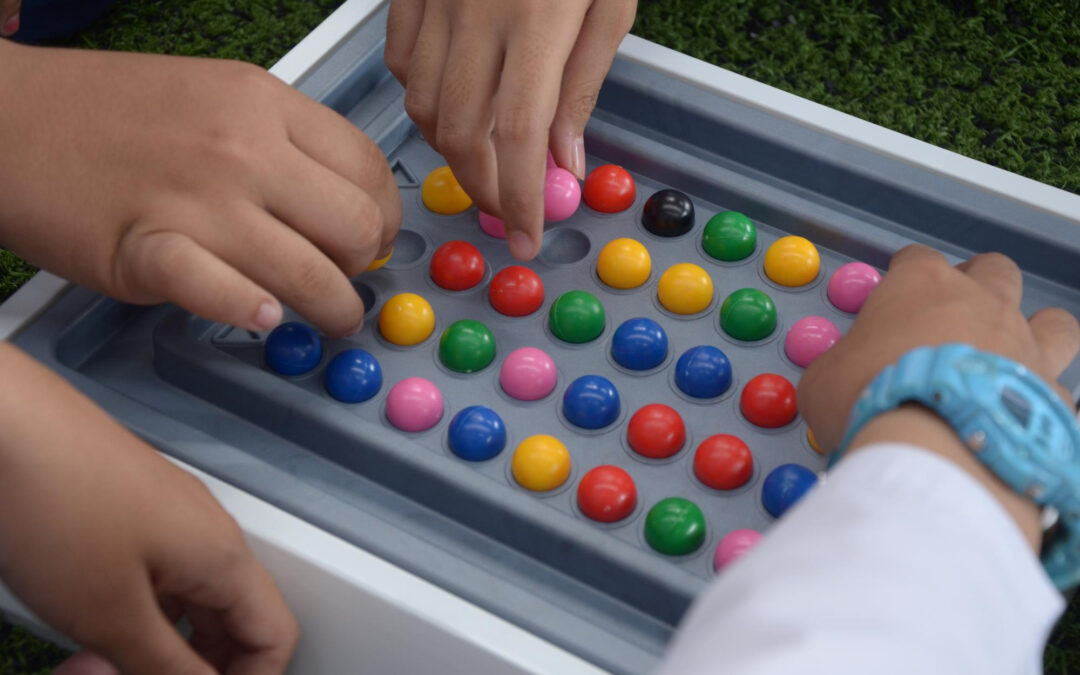
Your preschooler just asked to help with something and you have about ten minutes before you need to start dinner. You are searching for fine motor activities for preschoolers because you want something that actually builds hand skills, not just something that keeps a child busy, and you would genuinely rather use what is already in a kitchen drawer than order a new set of tools.
Here is the direct answer. The best fine motor activities for preschoolers do not require a special kit at all. A clothespin, a kitchen tong, a sponge, a hole punch, and a few dried beans cover most of what a preschooler’s hands are working on at this age: pinching, gripping, transferring, cutting, and controlled release. This guide organizes 20 real activities by category, materials, mess level, and how much of your own attention each one needs, so you can grab something that fits your afternoon and the supplies you already own.
How to Use This List of Fine Motor Activities for Preschoolers
Every activity below uses the same shorthand so you can scan quickly instead of rereading definitions 20 times.
Best fit is a loose age range, not a deadline. Preschoolers vary enormously in hand strength and coordination, and a wider or narrower range than what is listed is completely normal.
Time covers setup, then typical active play time. A preschooler often works with something for far less time than an adult expects, and that is fine.
Mess is rated None (put it away and you are done), Low (a damp paper towel handles it), or Medium (a few minutes with a broom, sponge, or wipe down).
Supervision describes how closely an adult needs to stay involved. Arm’s reach means active, within touching distance supervision, which matters most for anything with small pieces or a cutting tool.
Skills it may support is phrased deliberately as “may,” never as a promise. See the note on this below.
Easier version, Extension, and Stopping point give a way to scale the same activity down, up, or end it early without it feeling like a failure.
A note on “skills it may support.” Play does not need a developmental justification to be worth doing, and a preschooler does not need to master anything from squeezing a sponge. Where we mention a skill an activity may touch on, it is a loose, honest connection, not a claim that this specific activity builds that skill, and definitely not a substitute for how your child is actually doing. If you have a real question about your child’s development, your pediatrician is the right person to ask, not an activity list.
A Quick Word on Safety and Supervision
A number of the fine motor activities for preschoolers below use small items on purpose, since small item handling is exactly what builds a precise pincer grip. General guidance from the U.S. Consumer Product Safety Commission is worth keeping in mind for any of them: children under 3 still explore objects with their mouths, and a rough rule of thumb is that anything small enough to fit through an empty toilet paper tube, about 1.25 inches across, is a choking risk and needs close, active supervision or should be skipped for a child who still mouths objects. Most of the activities in this guide are aimed at preschoolers roughly 3 to 5, an age range where many children have grown out of routinely mouthing objects, but plenty of individual preschoolers have not, and you know your own child best. A few activities also involve real scissors or a hole punch, which always need arm’s reach supervision regardless of age. None of the ideas below require an adult to hover anxiously, but the ones that genuinely need you close by are labeled clearly.
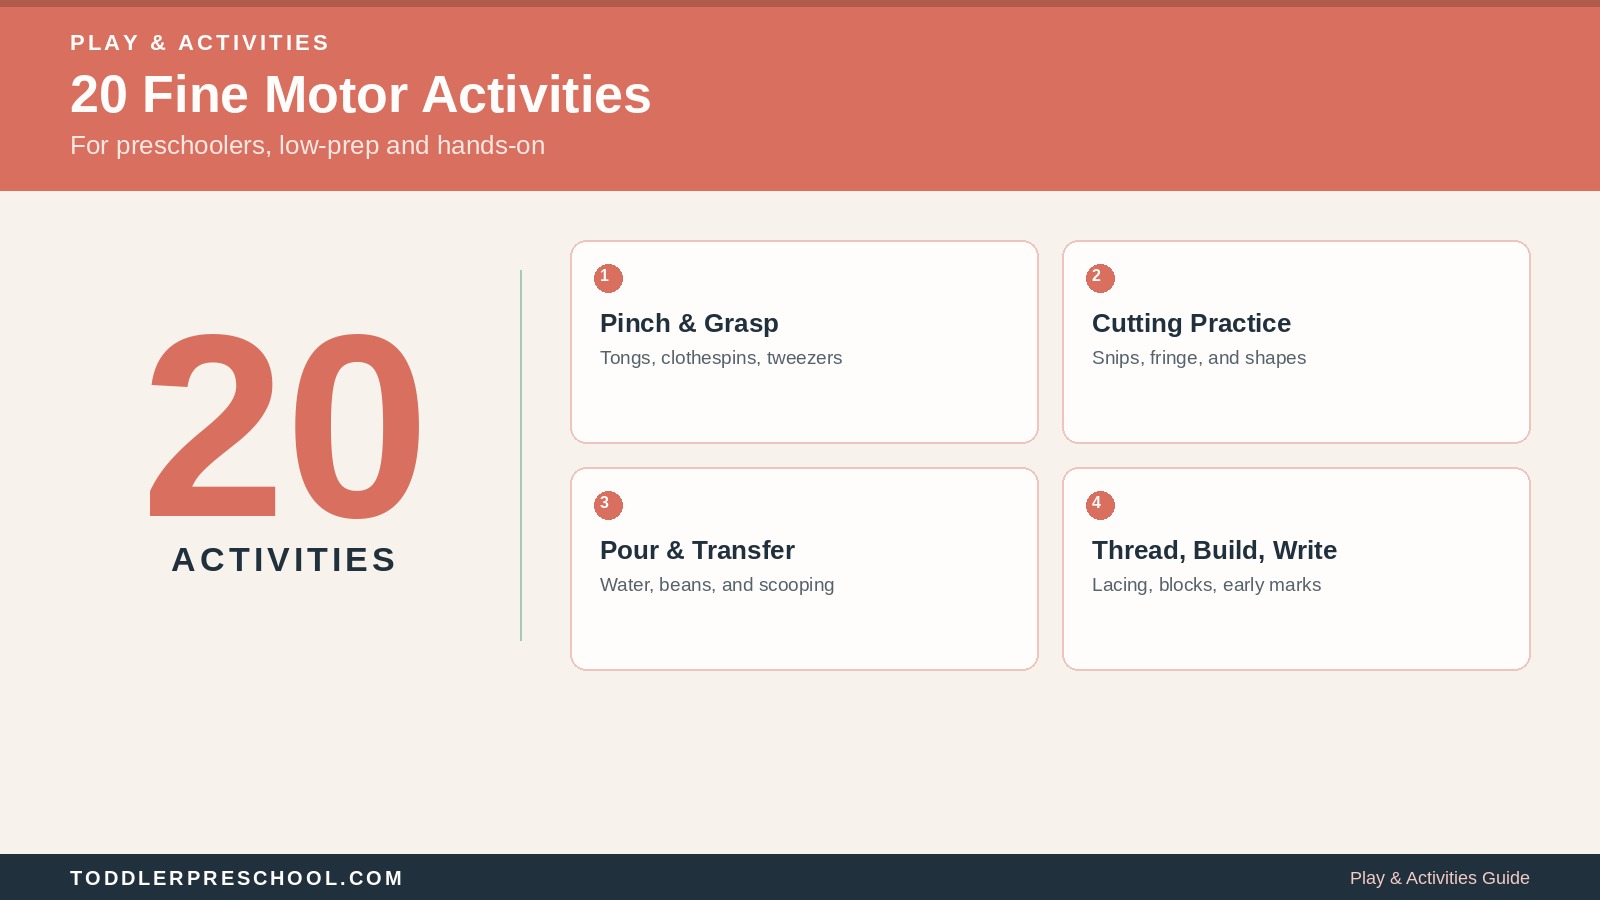
All 20 Fine Motor Activities for Preschoolers at a Glance
| Activity | Category | Best Fit | Mess | Time |
|---|---|---|---|---|
| Clothespin Pom Pom Pickup | Pinch and Grasp | 3 to 5 | None | 5 to 15 minutes |
| Kitchen Tong Sorting | Pinch and Grasp | 3 to 5 | None | 5 to 15 minutes |
| Sponge Squeeze Transfer | Pinch and Grasp | 3 to 5 | Low | 10 to 15 minutes |
| Coin Slot Drop Bank | Pinch and Grasp | 3 to 5 | None | 5 to 10 minutes |
| Bubble Wrap Finger Pop | Pinch and Grasp | 2.5 to 5 | None | 5 to 10 minutes |
| Playdough Scissor Snip | Cutting Practice | 3 to 5 | Low | 10 to 15 minutes |
| Paper Strip Fringe Cutting | Cutting Practice | 3.5 to 5 | Low | 10 to 15 minutes |
| Straw Snip Practice | Cutting Practice | 3.5 to 5 | Low | 5 to 10 minutes |
| Hole Punch Confetti | Cutting Practice | 3 to 5 | Low | 10 to 15 minutes |
| Clothespin Clip Line | Cutting Practice | 3 to 5 | None | 10 to 15 minutes |
| Rice or Bean Scoop and Pour | Pour and Transfer | 3 to 5 | Low | 10 to 20 minutes |
| Ice Cube Tong Transfer | Pour and Transfer | 3 to 5 | Low | 10 to 15 minutes |
| Spray Bottle Window Painting | Pour and Transfer | 3 to 5 | Low | 10 to 15 minutes |
| Dropper Color Mixing | Pour and Transfer | 3 to 5 | Low | 10 to 15 minutes |
| Funnel Pour Station | Pour and Transfer | 3 to 5 | Low | 10 to 15 minutes |
| Pasta Necklace Threading | Thread Build Write | 3 to 5 | None | 10 to 20 minutes |
| Button Sewing Card | Thread Build Write | 3.5 to 5 | None | 10 to 15 minutes |
| Nut and Bolt Match | Thread Build Write | 3 to 5 | None | 10 to 15 minutes |
| Sidewalk Chalk Rubbing | Thread Build Write | 3 to 5 | Low | 10 to 15 minutes |
| Playdough Letter Roll | Thread Build Write | 3 to 5 | Low | 10 to 15 minutes |
Pinch and Grasp Fine Motor Activities
These fine motor activities for preschoolers focus on the pincer grip and hand strength that supports everything from holding a crayon to managing buttons.
1. Clothespin Pom Pom Pickup
Use a spring clothespin to pick up pom poms one at a time and move them into a bowl or ice cube tray.
Best fit: 3 to 5 years. Time: 2 minutes setup, 10 to 15 minutes play. Mess: None. Supervision: Arm’s reach if using small pom poms, since they are a choking risk for a child who still mouths objects.
Materials and substitutions: A few spring clothespins, a handful of pom poms or cotton balls, and a bowl or muffin tin as the target. Buttons or dried beans work if pom poms are not on hand, though they raise the choking consideration further.
Steps: Show how to squeeze the clothespin open with two fingers. Pick up one pom pom at a time and move it to the target container. Repeat until the container fills or interest fades.
Skills it may support: pincer grip strength, hand eye coordination, sustained focus on a repetitive task.
Easier version: Use a larger clip that needs less hand strength to open, or skip the clothespin and just sort pom poms by hand first. Extension: Sort by color into separate cups while clipping. Stopping point: However many pom poms get moved is enough; there is no set number to reach.
Visual direction: Close up of small fingers squeezing a clothespin around a pom pom, bright colorful background, genuine concentration visible.
2. Kitchen Tong Sorting
Small kitchen tongs or salad tongs pick up and sort lightweight objects by color or size.
Best fit: 3 to 5 years. Time: no setup, 10 to 15 minutes. Mess: None. Supervision: Same room.
Materials and substitutions: A pair of kitchen tongs sized for small hands, and a mixed group of safe objects like pom poms, small blocks, or plastic bottle caps.
Steps: Offer the tongs and a bowl of mixed objects. Sort into separate cups by color or size. Switch to a new sorting rule once the first one feels easy.
Skills it may support: hand strength, bilateral coordination, early sorting logic.
Easier version: Use larger, easier to grip objects and a wider tong opening. Extension: Time how fast a full sort takes, or add a third sorting category. Stopping point: One full sort is a complete round.
Visual direction: Overhead shot of small tongs mid grip on a colorful object, sorting cups visible below, bright natural light.
3. Sponge Squeeze Transfer
Squeeze water out of a wet sponge to move water from one bowl to another.
Best fit: 3 to 5 years. Time: 2 minutes setup, 10 to 15 minutes play. Mess: Low, plan for a towel underneath. Supervision: Arm’s reach, since this involves water at a table or floor level.
Materials and substitutions: Two bowls, one filled with water, a kitchen sponge, and a towel underneath to catch drips.
Steps: Dip the sponge in the full bowl. Squeeze it over the empty bowl to release the water. Repeat until most of the water has moved.
Skills it may support: whole hand squeezing strength, cause and effect observation, sustained repetitive motion.
Easier version: Use a bigger sponge that needs less precision to squeeze. Extension: Add food coloring to the water for a more visual transfer, or time how long a full transfer takes. Stopping point: When most of the water has moved, towel dry the area and stop.
Visual direction: Close up of two hands squeezing a wet sponge over a bowl, water droplets visible, bright kitchen light.
4. Coin Slot Drop Bank
Drop coins or large buttons through a narrow slot cut into a container lid.
Best fit: 3 to 5 years. Time: 3 minutes setup, 5 to 10 minutes play. Mess: None. Supervision: Arm’s reach, since coins and buttons are a genuine choking risk for a child who still mouths objects.
Materials and substitutions: A container with a lid (a coffee can or plastic tub), a slot cut into the lid, and large coins or buttons sized clearly larger than the toilet paper tube choking test.
Steps: Show how to hold a coin between two fingers and line it up with the slot. Drop coins one at a time. Open the container together to count what went in.
Skills it may support: precise pincer grip, wrist rotation, hand eye coordination.
Easier version: Widen the slot for an easier first try. Extension: Use coins of different sizes and ask your child to sort before dropping. Stopping point: Emptying the container of coins once is a complete round.
Visual direction: Close up of small fingers holding a large coin above a slotted lid, focused expression, simple clean background.
5. Bubble Wrap Finger Pop
Press and pop individual bubbles on a sheet of bubble wrap using one finger at a time.
Best fit: 2.5 to 5 years. Time: no setup, 5 to 10 minutes. Mess: None. Supervision: Same room.
Materials and substitutions: A sheet of bubble wrap, any size, taped flat to a table if it tends to slide.
Steps: Show pressing one bubble with a single finger until it pops. Let your child work across the sheet at their own pace. Flip to a fresh section if one runs out.
Skills it may support: isolated finger control, hand strength, a satisfying sensory and cause and effect loop.
Easier version: Let a younger child use a whole hand or fist to press bubbles instead of one finger. Extension: Try popping with the non dominant hand, or with eyes closed by feel alone. Stopping point: Once most of the bubbles are popped, the activity naturally ends.
Cutting Practice Fine Motor Activities
Scissors and other simple cutting tools build a different kind of hand control than pinching alone. These fine motor activities for preschoolers all need arm’s reach supervision.
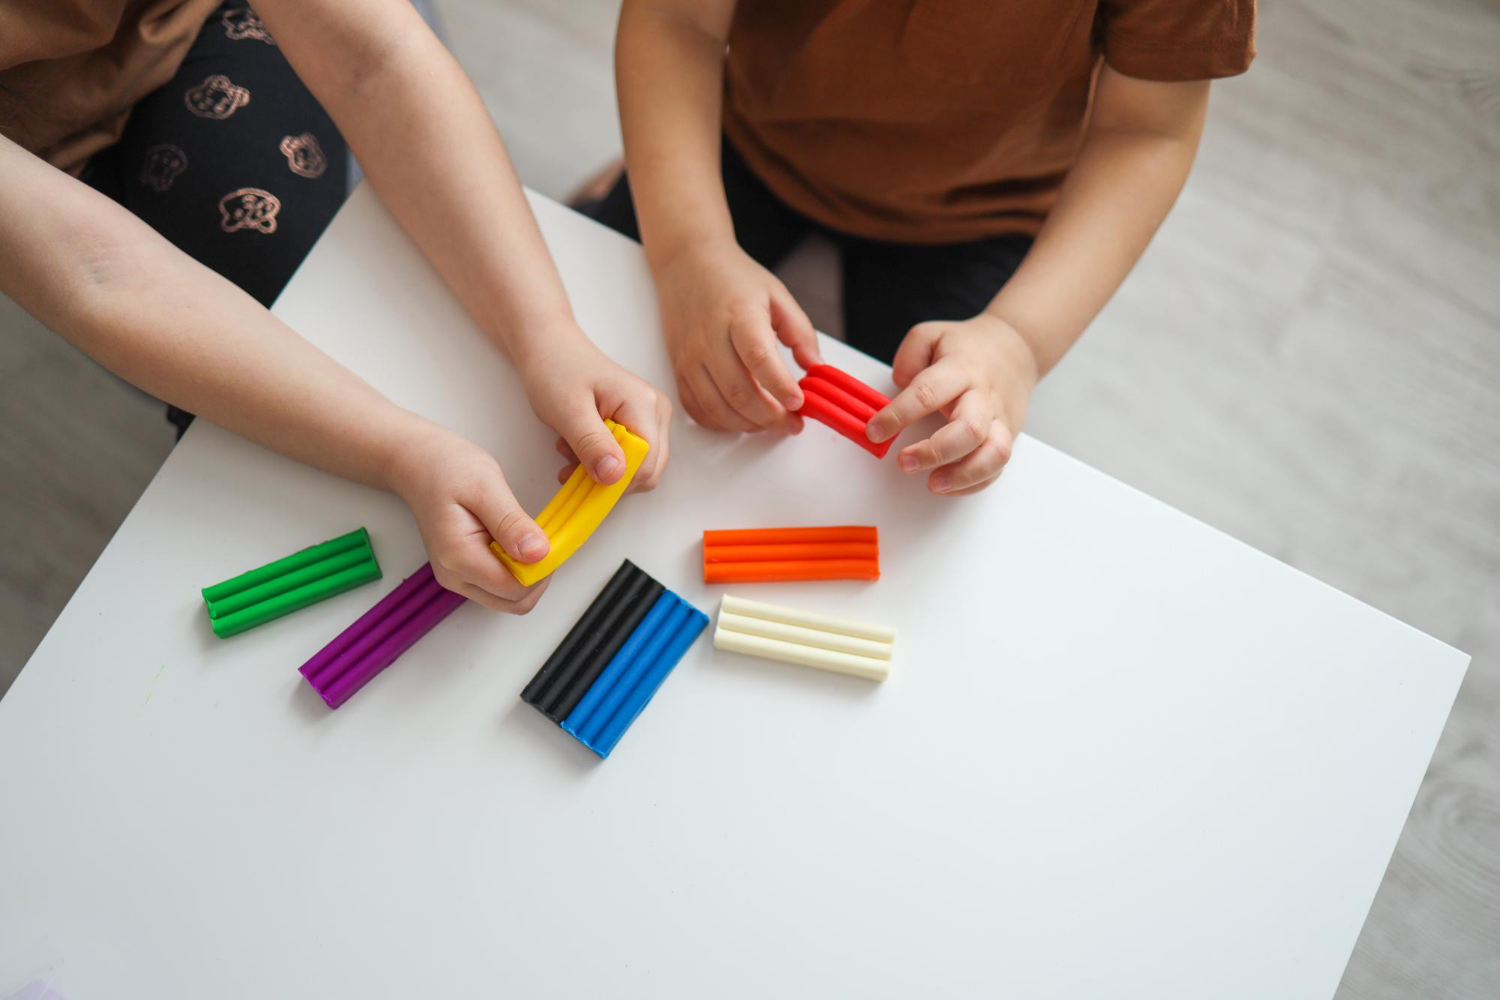
6. Playdough Scissor Snip
Roll playdough into ropes and snip them into pieces with child safe scissors.
Best fit: 3 to 5 years. Time: 2 minutes setup, 10 to 15 minutes play. Mess: Low. Supervision: Arm’s reach, always, for any scissor activity at this age.
Materials and substitutions: Child safe, blunt tip scissors, and playdough rolled into thick ropes.
Steps: Show how to hold the scissors with thumb up. Roll a rope of dough and snip it into small pieces. Reroll the pieces together and repeat.
Skills it may support: early scissor control, bilateral coordination, hand strength.
Easier version: Roll thicker, more forgiving ropes that are easier to cut cleanly. Extension: Move to cutting paper strips once playdough snipping feels comfortable. Stopping point: A few minutes of genuine focus is plenty; scissor stamina builds gradually.
Visual direction: Close up of small hands holding child safe scissors mid snip through a playdough rope, bright even light.
7. Paper Strip Fringe Cutting
Cut fringe along the edge of a paper strip without cutting all the way across.
Best fit: 3.5 to 5 years. Time: 2 minutes setup, 10 to 15 minutes play. Mess: Low. Supervision: Arm’s reach.
Materials and substitutions: Wide strips of scrap paper or a paper plate cut into strips, and child safe scissors.
Steps: Draw a line partway across the strip as a stopping guide if needed. Snip from the edge toward the line repeatedly along the strip. Compare the finished fringe together.
Skills it may support: controlled stopping while cutting, hand eye coordination, bilateral hand use.
Easier version: Use thicker paper like cardstock, which holds its shape better under small scissors. Extension: Try cutting a full shape like a simple circle once fringe cutting feels easy. Stopping point: One finished strip is a complete project.
Visual direction: Overhead shot of a paper strip with fringe cuts in progress, small hand holding scissors, bright colorful paper.
8. Straw Snip Practice
Cut a drinking straw into short pieces, then thread the pieces onto string for a bonus round.
Best fit: 3.5 to 5 years. Time: 2 minutes setup, 5 to 10 minutes play. Mess: Low. Supervision: Arm’s reach.
Materials and substitutions: A few plastic or paper drinking straws and child safe scissors. String or a shoelace if you want to add the threading extension.
Steps: Hold the straw steady while snipping small pieces off the end. Collect the pieces in a small bowl. Thread onto string if continuing to the extension.
Skills it may support: precise, repeated scissor snips, hand strength, a natural bridge into threading practice.
Easier version: Use a wider straw, which is easier to line up and cut cleanly. Extension: Thread the cut pieces onto string or a pipe cleaner for a necklace. Stopping point: A full straw’s worth of pieces is a complete round.
9. Hole Punch Confetti
Punch holes in scrap paper using a single hole punch to make homemade confetti.
Best fit: 3 to 5 years. Time: no setup, 10 to 15 minutes. Mess: Low, expect small paper bits on the floor. Supervision: Arm’s reach, since a hole punch takes real hand strength and a pinched finger is possible.
Materials and substitutions: A single hole punch sized for small hands, and scrap paper or old magazine pages.
Steps: Show how to line paper up in the punch and press down firmly with the whole hand or two fingers. Punch repeatedly across a page. Save the confetti for a collage or a celebration.
Skills it may support: whole hand and finger strength, two hand coordination, cause and effect satisfaction.
Easier version: Choose a hole punch with a looser, easier to press mechanism. Extension: Punch a pattern along a folded edge for a symmetrical design. Stopping point: One full page of confetti is a satisfying, complete round.
Visual direction: Close up of small hands pressing a hole punch, colorful confetti scattered below, bright overhead light.
10. Clothespin Clip Line
Clip paper shapes or photos onto a string using spring clothespins, like a mini clothesline.
Best fit: 3 to 5 years. Time: 5 minutes setup, 10 to 15 minutes play. Mess: None. Supervision: Same room.
Materials and substitutions: A length of string or yarn tied between two low points (chair backs work well), a handful of clothespins, and paper shapes or family photos to hang.
Steps: Tie the string at a height your child can reach. Show how to squeeze a clothespin open and clip it over the string and paper together. Hang each item one at a time.
Skills it may support: pincer strength, two hand coordination, sequencing a repeated task.
Easier version: Use larger, easier to open clothespins. Extension: Sort items by color or type before hanging them in a pattern. Stopping point: Once every item is hung, the line is complete and can stay up as a small display.
Visual direction: Wide shot of a low string line with paper shapes clipped on, small hand mid clip, warm natural light.
Pour and Transfer Fine Motor Activities
Pouring, scooping, and squeezing liquid or loose material builds wrist control and a steady hand. These fine motor activities for preschoolers work well at a table or a covered floor space.
11. Rice or Bean Scoop and Pour
Scoop dry rice or beans from one container to another using a small cup or spoon.
Best fit: 3 to 5 years. Time: 2 minutes setup, 10 to 20 minutes play. Mess: Low, some spillage is expected. Supervision: Arm’s reach, since dry rice and beans are a choking risk for a child who still mouths objects.
Materials and substitutions: A large tray or baking sheet, two bowls, dry rice or beans, and a small cup or spoon for scooping.
Steps: Fill one bowl with rice or beans. Scoop from the full bowl into the empty one using the cup or spoon. Pour the rice back and forth as many times as interest allows.
Skills it may support: wrist control, hand eye coordination, sustained focused attention.
Easier version: Use a wider cup that scoops more easily on the first try. Extension: Add small hidden toys to find while scooping, or use a funnel for an extra step. Stopping point: When attention shifts, pour the rice back into a sealed container for next time.
Visual direction: Overhead flat lay of a tray with rice, small hand mid scoop with a cup, warm natural light, satisfying texture visible.
12. Ice Cube Tong Transfer
Move ice cubes from a bowl of ice water into a second container using small tongs.
Best fit: 3 to 5 years. Time: 3 minutes setup, 10 to 15 minutes play. Mess: Low. Supervision: Same room.
Materials and substitutions: A bowl of ice cubes in a little water, a second empty bowl, and small tongs.
Steps: Offer the tongs and both bowls. Pick up one ice cube at a time and move it to the second bowl. Talk about how the ice feels and changes as it melts.
Skills it may support: hand strength against a slippery object, precise grip control, sensory exploration of cold and wet.
Easier version: Use larger ice cubes that are easier to grip. Extension: Add food coloring to the ice cubes before freezing for a color mixing element as they melt together. Stopping point: When the ice cubes are all moved, or fully melted, the activity ends naturally.
13. Spray Bottle Window Painting
Fill a spray bottle with diluted washable paint or colored water and spray a window or an outdoor fence.
Best fit: 3 to 5 years. Time: 3 minutes setup, 10 to 15 minutes play. Mess: Low outdoors, plan for a towel indoors. Supervision: Same room.
Materials and substitutions: A small spray bottle with an easy trigger, water mixed with a little washable paint or food coloring, and a washable surface like a window, a fence, or a shower wall.
Steps: Fill the bottle partway to keep it light enough to squeeze repeatedly. Show the two finger squeeze needed to spray. Let your child spray freely across the surface.
Skills it may support: hand strength for a repeated squeeze motion, wrist control, cause and effect through color.
Easier version: Choose a spray bottle with a looser, lighter trigger that needs less hand strength. Extension: Use two colors and spray them near each other to watch them blend. Stopping point: When the bottle runs empty, refill or stop for the day.
Visual direction: Action shot of a small hand squeezing a spray bottle trigger, colorful mist visible against a window, bright outdoor light.
14. Dropper Color Mixing
Use a plastic eye dropper or pipette to move drops of colored water between ice cube tray wells.
Best fit: 3 to 5 years. Time: 3 minutes setup, 10 to 15 minutes play. Mess: Low. Supervision: Same room.
Materials and substitutions: An ice cube tray or a muffin tin, water tinted with food coloring in a few small cups, and a plastic eye dropper or pipette.
Steps: Fill a few small cups with different colors of tinted water. Show how to squeeze the dropper bulb to draw up color and release it into a tray well. Mix colors between wells and watch new colors form.
Skills it may support: precise finger and thumb control, wrist stability, early color mixing concepts.
Easier version: Use a larger squeeze bulb baster instead of a thin dropper for an easier first grip. Extension: Predict what color two colors will make before mixing them. Stopping point: When the tray wells are full or colors have all turned muddy, that is a natural, complete end.
Visual direction: Overhead close up of an ice cube tray with colorful water in wells, small hand squeezing a dropper mid transfer, vivid saturated colors.
15. Funnel Pour Station
Pour water, rice, or sand through a funnel into a narrow necked bottle.
Best fit: 3 to 5 years. Time: 3 minutes setup, 10 to 15 minutes play. Mess: Low to medium depending on material. Supervision: Arm’s reach if using dry rice or sand due to small piece choking risk; same room for water.
Materials and substitutions: A funnel, an empty narrow necked bottle, and water, rice, or sand to pour. A small pitcher or cup for the initial pour.
Steps: Set the funnel into the bottle opening. Pour slowly from the pitcher or cup into the funnel. Watch the material fill the bottle and try again.
Skills it may support: controlled pouring, wrist rotation, hand eye coordination between two hands doing different jobs.
Easier version: Use a wider funnel opening and a lighter, smaller pitcher. Extension: Time how long a full bottle takes to fill, or try pouring with the non dominant hand. Stopping point: A full bottle is a satisfying, complete round.
Thread, Build, and Write Fine Motor Activities
These fine motor activities for preschoolers combine precision grip with early writing and building skills.
16. Pasta Necklace Threading
Thread dry pasta with large holes onto a shoelace or thick string to make a necklace or bracelet.
Best fit: 3 to 5 years. Time: 2 minutes setup, 10 to 20 minutes play. Mess: None. Supervision: Arm’s reach, since dry pasta is a choking risk for a child who still mouths objects.
Materials and substitutions: Large hole pasta like penne or rigatoni, and a shoelace or a piece of string with tape wrapped around one end to stiffen it like an aglet.
Steps: Tie a knot at one end of the string as a stopper. Thread pasta pieces on one at a time. Tie the ends together when finished to complete the necklace.
Skills it may support: hand eye coordination, precise finger control, sustained focus on a repetitive task.
Easier version: Use bigger pasta shapes with wider holes for easier threading. Extension: Color the pasta ahead of time and thread in a repeating color pattern. Stopping point: One finished necklace is a complete project, worn proudly or given as a gift.
Visual direction: Close up of small hands threading pasta onto a string, colorful pasta pieces visible, bright clean background.
17. Button Sewing Card
Push a large plastic needle or a shoelace through holes punched around the edge of a paper shape, like a simple first sewing card.
Best fit: 3.5 to 5 years. Time: 3 minutes setup, 10 to 15 minutes play. Mess: None. Supervision: Same room.
Materials and substitutions: A paper or cardstock shape with holes punched around the edge, and a shoelace or yarn with a stiffened end, or a large plastic sewing needle if you have one.
Steps: Show how to push the lace in one hole and pull it out the next. Continue around the shape’s edge. Tie off the ends when the shape is fully laced.
Skills it may support: precise finger control, hand eye coordination, sequencing a repeated in and out motion.
Easier version: Punch fewer, larger holes spaced further apart. Extension: Try a more complex shape with more holes, or attempt an over under weaving pattern. Stopping point: One completed shape is a full project.
18. Nut and Bolt Match
Twist large, child safe plastic or metal nuts onto matching bolts by hand.
Best fit: 3 to 5 years. Time: no setup, 10 to 15 minutes. Mess: None. Supervision: Arm’s reach if pieces are small enough to be a choking risk.
Materials and substitutions: A set of large plastic nuts and bolts made for toddlers and preschoolers, or genuinely large hardware store bolts too big to be a choking risk, checked carefully first.
Steps: Offer a bolt and its matching nut. Show the twisting motion needed to thread them together. Try matching different sizes once the basic twist feels comfortable.
Skills it may support: wrist rotation, two hand coordination, an early introduction to how simple mechanical parts fit together.
Easier version: Start with just one size of nut and bolt rather than a mixed set. Extension: Time how fast a full set can be matched and twisted together. Stopping point: A fully matched set is a natural, complete round.
Visual direction: Close up of small hands twisting a large plastic nut onto a bolt, focused expression, simple bright background.
19. Sidewalk Chalk Rubbing
Place paper over a textured surface like a leaf, a coin, or a piece of bark, and rub with the side of a crayon or chalk to reveal the pattern.
Best fit: 3 to 5 years. Time: 3 minutes setup, 10 to 15 minutes play. Mess: Low. Supervision: Same room.
Materials and substitutions: Thin paper, a fat crayon or a piece of chalk with the wrapper removed, and a textured object like a leaf, a coin, or tree bark.
Steps: Place the paper over the textured object. Hold the crayon on its side and rub gently and evenly across the paper. Reveal the pattern together and try a new object.
Skills it may support: controlled pressure with a whole hand grip, wrist stability, a genuine cause and effect surprise.
Easier version: Use a very textured object like bark for a bold, easy to see first result. Extension: Collect a few rubbings on one page to compare textures. Stopping point: A few rubbings is a complete session.
Visual direction: Overhead shot of a leaf under paper with a crayon rubbing revealing the pattern, small hand mid rub, natural outdoor light.
20. Playdough Letter Roll
Roll playdough into thin ropes and shape them into letters, starting with the first letter of your child’s name.
Best fit: 3 to 5 years. Time: no setup, 10 to 15 minutes. Mess: Low. Supervision: Same room.
Materials and substitutions: Playdough, homemade or store bought, and optionally a printed letter as a guide underneath.
Steps: Roll a piece of playdough into a thin, even rope between flat hands. Shape the rope into a letter, using a printed guide underneath if helpful. Try more letters or repeat the same one for practice.
Skills it may support: whole hand rolling strength, pre writing letter formation, low pressure repetition since mistakes simply get rerolled.
Easier version: Practice simple lines and circles instead of an actual letter first. Extension: Move from the first letter to spelling a short, familiar word. Stopping point: A few successful letters is a complete session; there is no requirement to spell anything in one sitting.
Visual direction: Overhead close up of a playdough rope being shaped into a letter over a printed guide, small hand mid shape, bright even light.
Adapting This to Every Family’s Situation
These fine motor activities for preschoolers are meant to flex, not to be followed exactly as written. The National Association for the Education of Young Children frames developmentally appropriate practice as play based learning that is also culturally, linguistically, and individually responsive to the specific child in front of you, not a fixed script every family runs the same way.
Multilingual families. Every activity above works in any language your family speaks at home; naming colors, counting pieces, or narrating a step does not require English specifically.
Disability and developmental variation. Several activities include an easier version specifically because hand strength, grip patterns, and sensory preferences vary widely among preschoolers for all kinds of reasons, not just age. If your child works with an occupational therapist, many of these activities can be adapted directly with their input, and a therapist is a better source for individualized modification than any general list.
Different family structures and caregivers. Nothing here requires two adults or a specific relationship to the child; an older sibling, grandparent, or any consistent caregiver can lead any of these just as well.
Budget. Every activity on this list uses materials most households already have, or substitutes that cost close to nothing: clothespins, kitchen tongs, dry pasta, and playdough do real work here. A hole punch or a bag of pom poms are the only items you might genuinely need to buy, and both are inexpensive.
Time and schedule. If you only have five minutes, pick something from the no setup column in the at a glance table above. If today is not a project kind of day, that is a completely normal parenting day, not a missed opportunity.
Frequently Asked Questions About Fine Motor Activities for Preschoolers
My preschooler still struggles to use scissors even after practice. Is that a problem? Scissor skill develops gradually and unevenly across the preschool years, and a child who is still building comfort with scissors at any point in this range is well within typical variation. Keep sessions short and low pressure, and mention it at a well visit if you have a genuine, ongoing concern rather than a single hard afternoon.
Do these activities for preschoolers need to happen every day to matter? No. A few genuinely engaged sessions a week do more than a rushed daily checklist, and there is no minimum frequency that makes hand skill practice worthwhile. Use this list as a resource to pull from, not a new daily requirement.
My child prefers the same activity over and over. Should I push for variety? Repetition is a completely normal, valuable way preschoolers build mastery and confidence with a new hand skill. Rotate in something new when your child seems ready or asks for it, not because repetition itself is a problem.
Your One Next Step
Look at the at a glance table above, pick one activity with no setup listed, and try it in the next 20 minutes using whatever is already in a kitchen drawer, before you have time to overthink it.
Sources consulted. National Association for the Education of Young Children, Defining Developmentally Appropriate Practice; U.S. Consumer Product Safety Commission public guidance on choking hazards and small parts sizing for children under 3.